- Home&Garden

- DIY/Home Improvement/Decorating
How to Apply Paint on a Wall Expertly

Most homeowners can complete the do-it-yourself task of painting the walls of their homes, and it's far less expensive than hiring experts. Refreshing your walls has never been simpler thanks to the large selection of high-quality paint brands that are currently accessible. However, it's crucial to understand the fundamentals of the procedure before getting started. The secret to a perfect, polished finish is using the appropriate methods and equipment.
You shouldn't skip the first phase in the procedure, which is getting the walls ready. Although it could be tempting to start painting right once, excellent results depend on the wall being properly prepared. It's time to revamp your walls and give them a new, polished appearance, so get your supplies and tools ready!
Tools You'll Need:
- Paint rollers are ideal for swiftly and evenly coating large wall surfaces.
- 2-Inch Angled Paintbrush: Ideal for cutting in edges and painting corners precisely.
- Extension Pole: Attach to your roller to paint high walls or ceilings with ease.
- Ladder: Required for safely accessing elevated sites.
Materials to Have:
- Cellulose Sponge: Use this to clean your walls before painting.
- Dishwashing Liquid: Combine with water to remove dirt, grease, and grime from walls.
- Painter's tape is essential for masking off parts that you do not want to paint, such as trimmings or outlets.
- Primer provides a smooth, even base for paint and improves its adhesion.
- Paint: Select the appropriate color and finish to bring your concept to reality.
- Paint Tray: Holds paint for convenient access when using the roller.
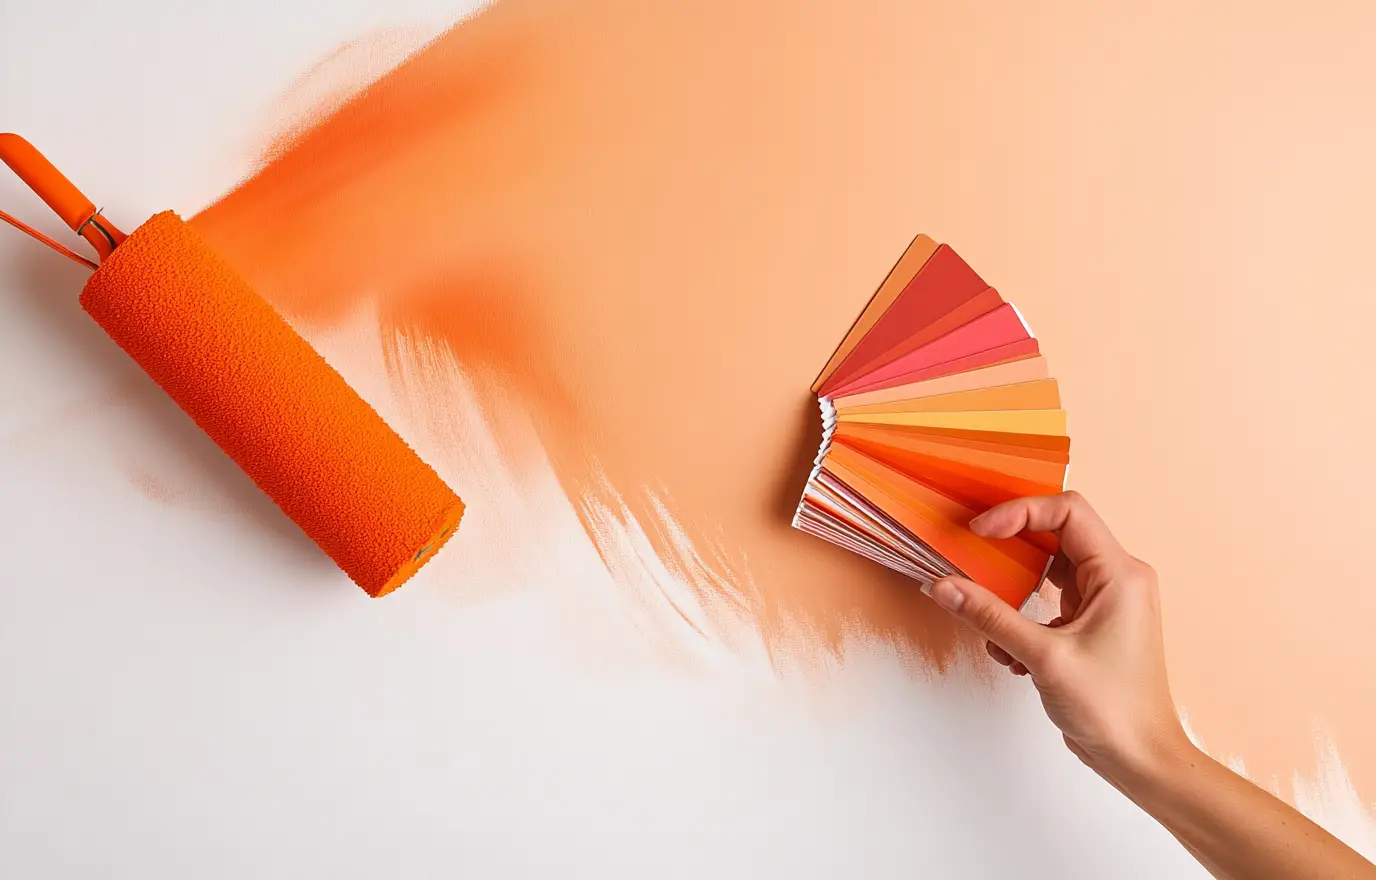
PHOTO: EasyNjoy.com
How to Paint a Wall
Step 1: Choose Your Color
Looking at swatches in shop is enjoyable, but to choose what will look best in your room, you should take home a sample can. Paint a small section on your wall or walls and compare how it looks during the day vs. at night, in a dark corner vs. near a window. You'll want to make sure you like it just as much at 10:00 AM as you do at 3:00 PM! Win! Once you've decided on a hue, make sure to buy plenty. The basic rule of thumb is one gallon per 350-400 square feet.
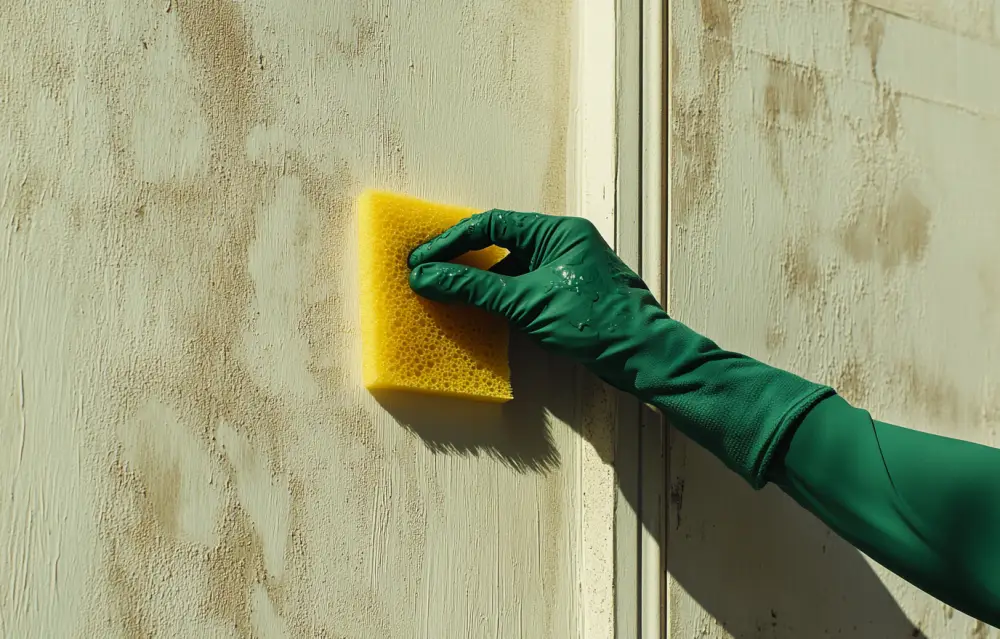
PHOTO: EasyNjoy.com
Step 2: Clean the Walls
- Using a broom, remove hard-to-reach dust and cobwebs from the ceiling's corners.
- Vacuum baseboards and window sills with a hand-held vacuum or bristle attachment. Then apply a wet towel to these places.
- Clean the walls using a wide cellulose sponge and a water solution containing a few drops of mild dishwashing solutions.
- To eliminate any soap residue, wipe down the walls with a moist towel.
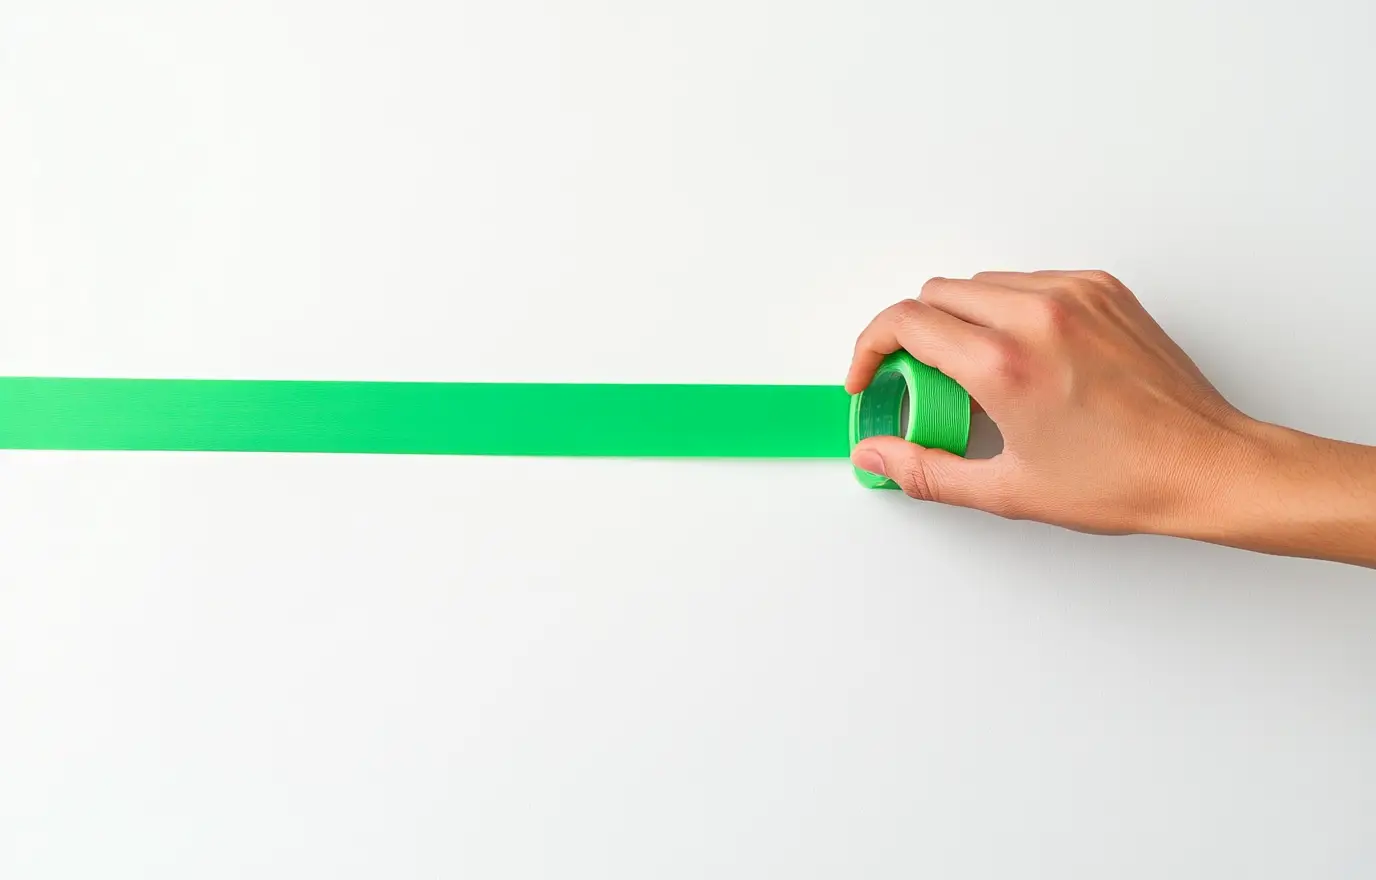
PHOTO: EasyNjoy.com
Step 3: Tape Trim
Protect places you don't want paint on with green painter's tape (not masking tape), such as trim, molding, doorknobs, window frames, and door frames. Place large strips of tape just inside the outer boundaries of these regions. (The tape's outside borders should be exactly where the wall meets the trim, covering any areas of the trim that your roller or paintbrush may come into contact with while painting.)
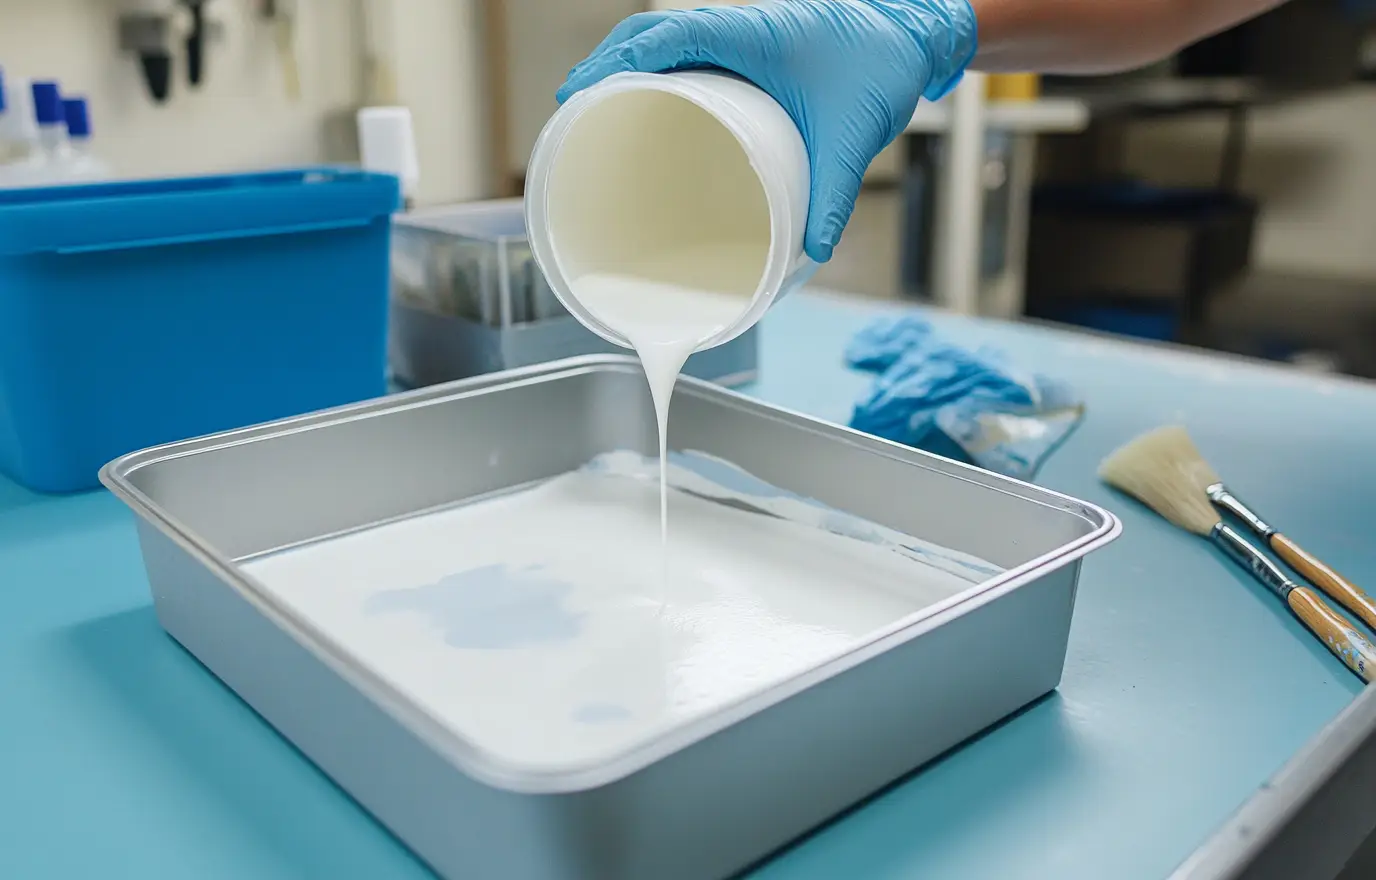
PHOTO: EasyNjoy.com
Step 4: Pour Primer into a Tray
- If you're using tarps for the floor, lay them out immediately.
- To make future cleanup easier, line the paint tray with a plastic liner or tin foil.
- Pour in enough paint to almost fill the well near the tray's bottom while leaving the angled area of the tray with the ridges exposed.
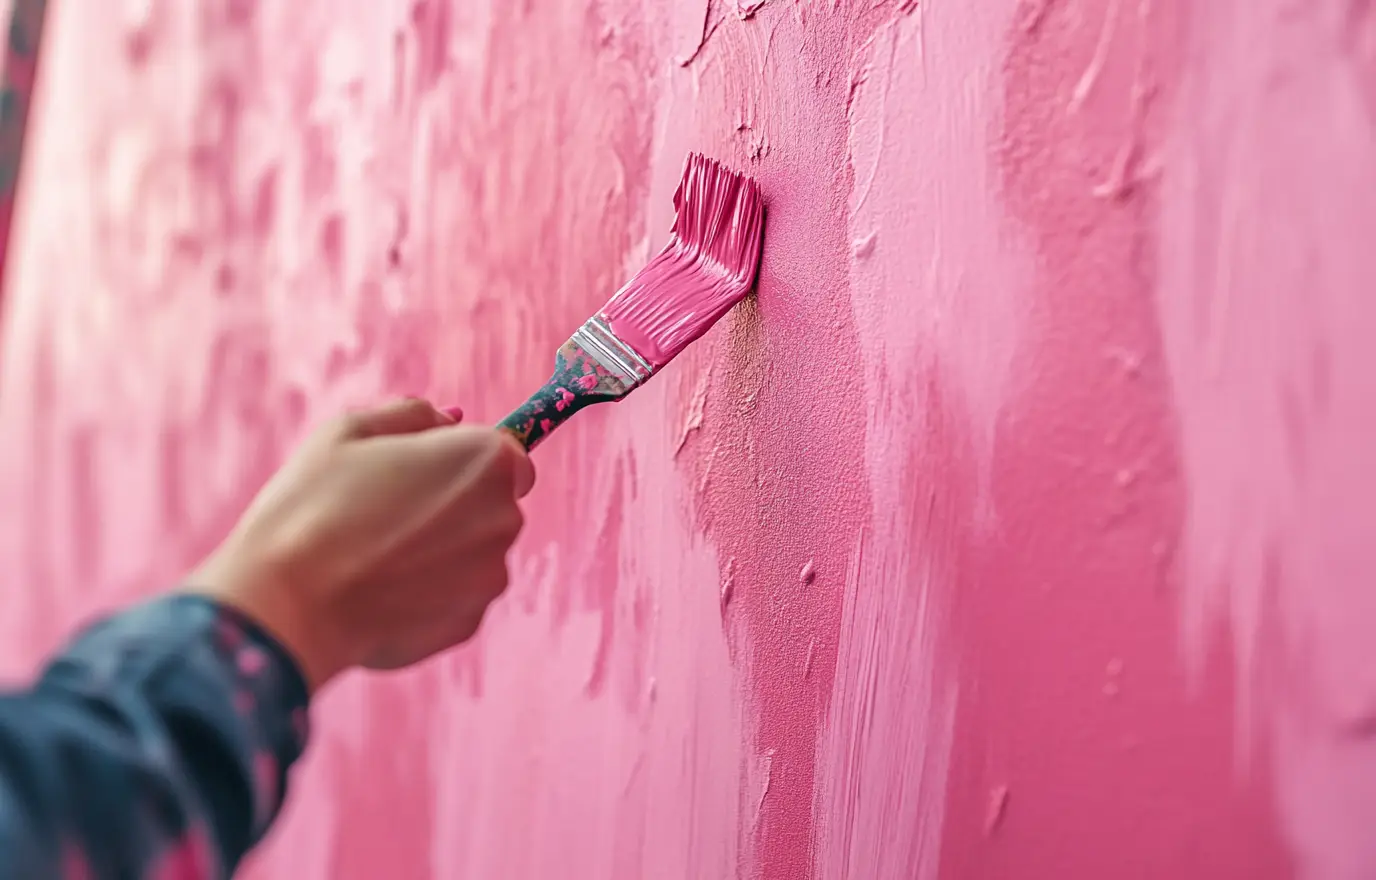
PHOTO: EasyNjoy.com
Step 5: Brush the corners
- Begin with the corners—areas that the roller cannot reach. Dip the bristles of a 2-inch angled paintbrush about one-third into the paint. To remove extra paint, gently slap the inside of the can.
- Use the brush to apply paint to the trim and corners of the walls. Extend 2-3 inches from windows, doors, and moldings.
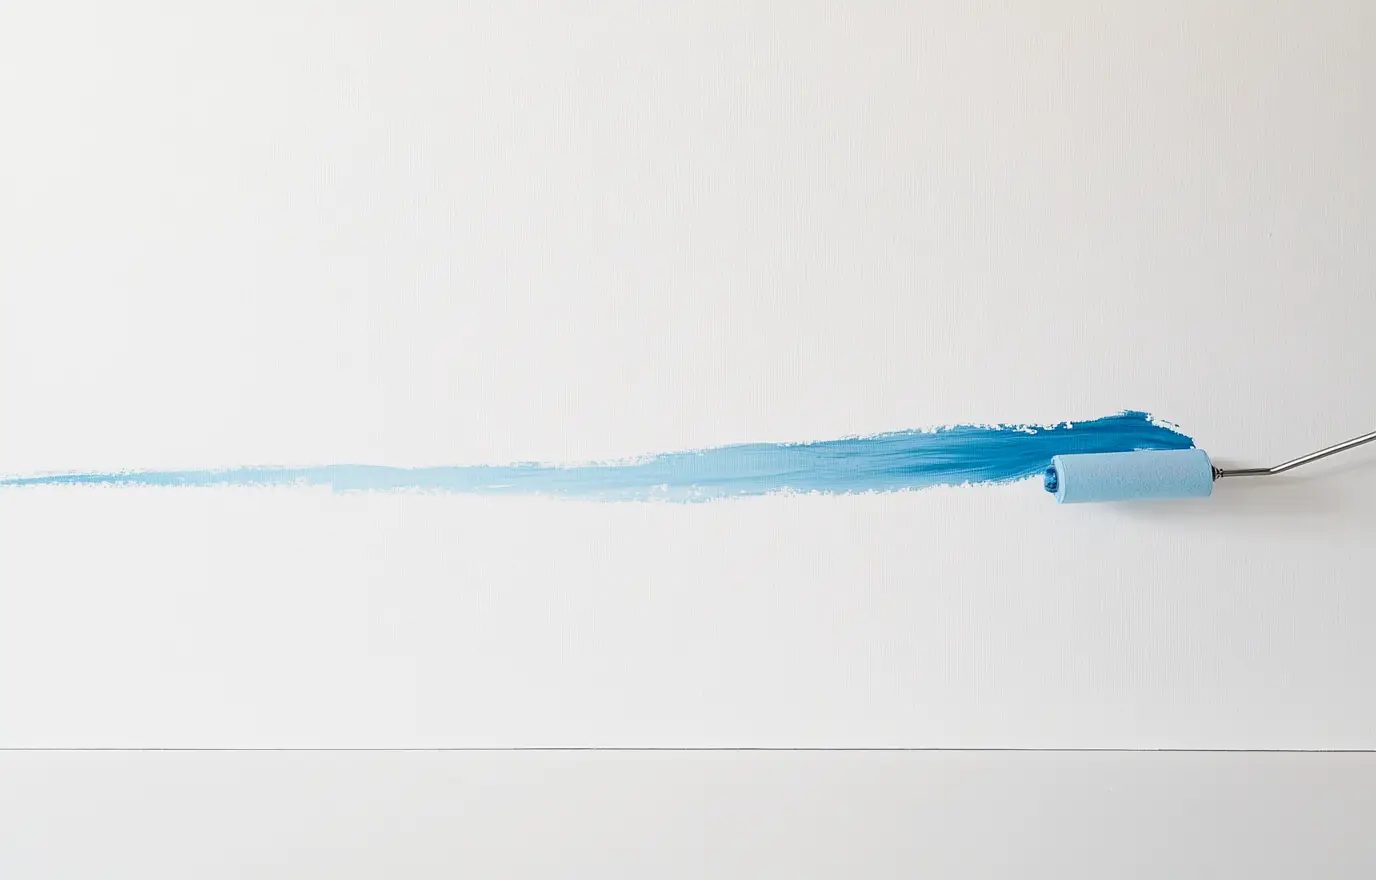
PHOTO: EasyNjoy.com
Step 6: Roll the primer onto the wall
- Immerse your roller into the primer paint and roll it back and forth across the tray's ridges several times to remove any excess and avoid drips. Make sure the roller is evenly coated.
- Run the roller up and down an area of wall, applying primer until it is completely covered. Continue until the entire wall is coated, reapplying primer to the roller as necessary.
- Follow the manufacturer's drying recommendations, which are on the can, to ensure that the primer is totally dry before adding paint.
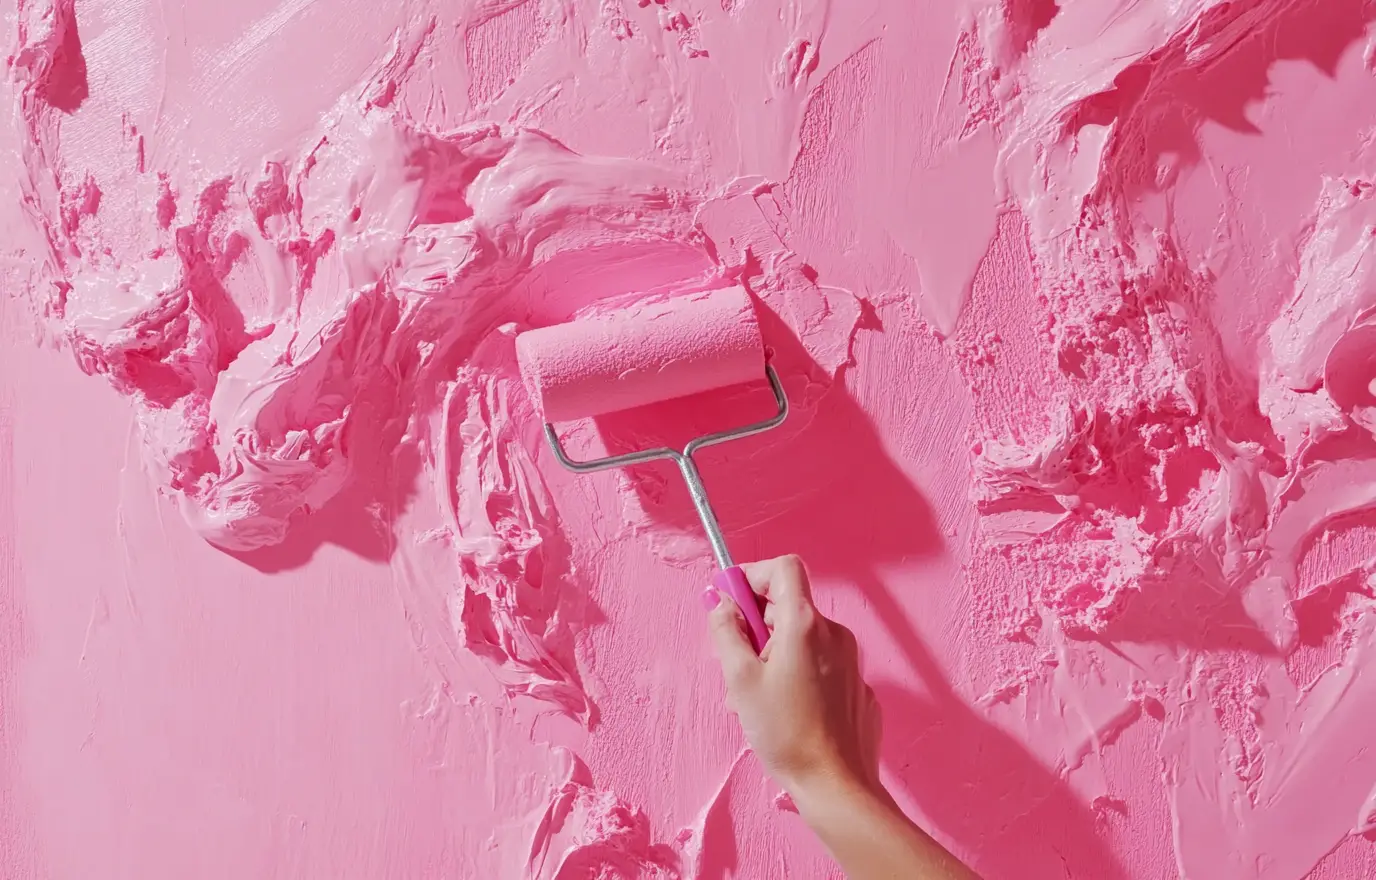
PHOTO: EasyNjoy.com
Step 7: Wipe on paint in a "W" shape
- Fill a paint tray with paint and dip your roller in, eliminating any excess.
- Roll the paint on the wall in a 3-by-3-foot "W" shape. Working your way back across that "w" without lifting the roller, fill in any gaps until the portion of wall is completely covered.
- Continue to add paint to the roller as needed until the entire wall is coated.
- Consider utilizing an extension pole (a popular practice among professional painters), even on the walls, to make it easier to refill your paint roller and cover your wall more rapidly.
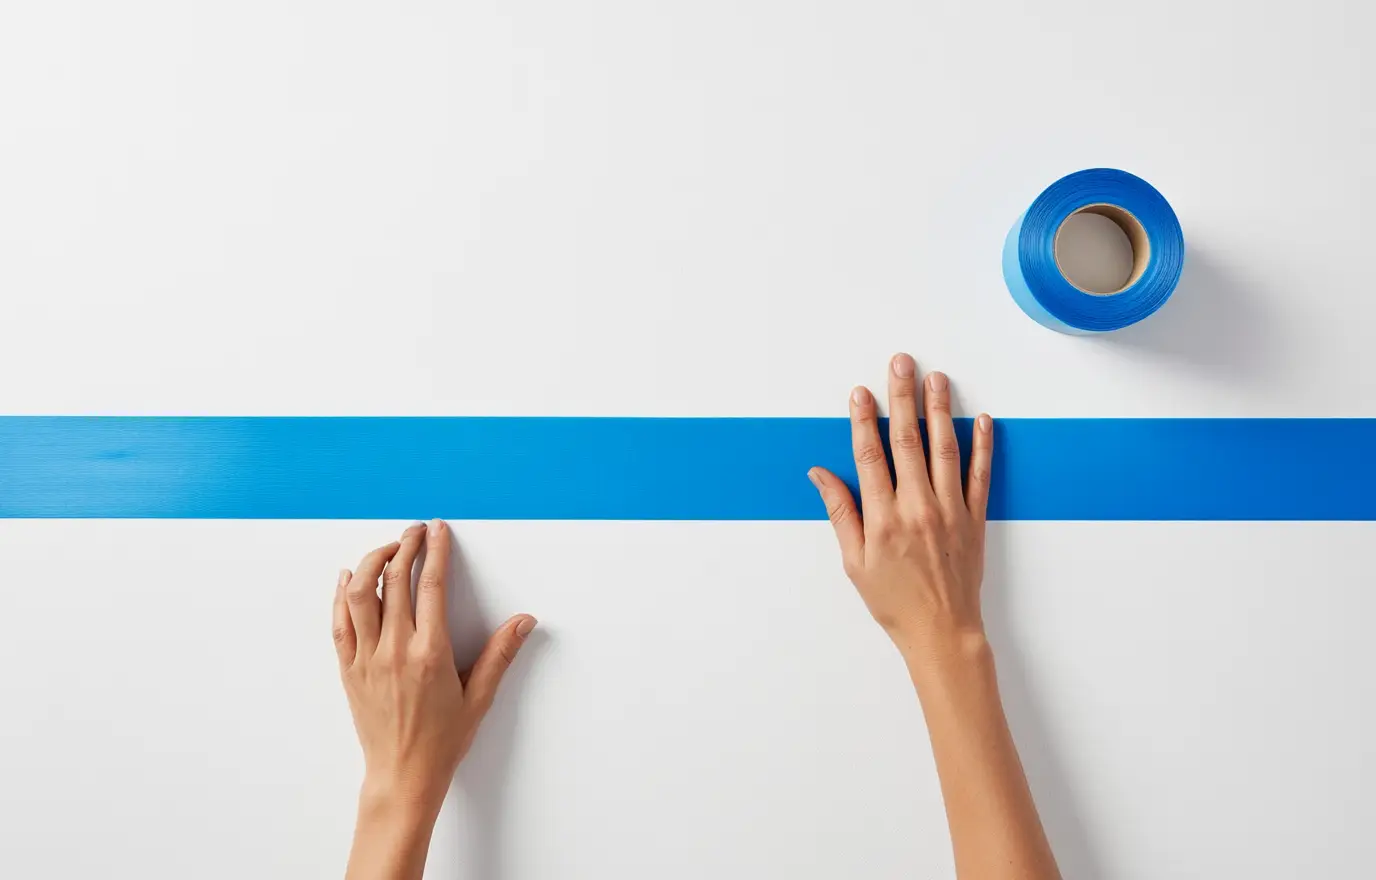
PHOTO: EasyNjoy.com
Step 8: Remove the painters' tape
To avoid mistakenly removing any dried paint, peel off the tape while the paint is still wet (preferably approximately an hour after you complete painting). Leaving the painter's tape on for too long is one of the most typical painting blunders.
Step 9: Know When Your Paint Is Dry
Different types of paint dry at different rates, and they will feel dry to the touch before you may apply a further coat. A latex-based paint will be dry to the touch in about an hour and ready for a second coat after four hours. An oil-based paint takes six hours to feel dry, so wait a day before applying a second coat.
Can I paint over old paint?
Yes, you can paint over old paint, but it will depend on the type of paint you use.
- Same Type of Paint: If you're using oil-based paint over oil-based paint or latex paint over latex, you can paint immediately without taking any extra preparations.
- Various Types of Paint: If you're converting from oil-based to latex paint, you'll need to apply one or two applications of primer to guarantee good adhesion.
- Dark to Light Colors: When painting a lighter color over a darker one, a primer is required to keep the old color from leaking through the new layers.
Using primer in these situations will make your new paint work look smooth and vivid.
Should I hire a professional painters or do it myself?
The selection is based on the state of your walls and the intricacy of the job.
- DIY-Friendly Walls: If your walls are smooth or have minor blemishes that can be readily repaired with spackle, you can take on the project yourself.
- Poor Wall Condition: If your walls have extensive damage that spackle cannot repair, it is better to employ a professional.
- Specialty Challenges: If you are dealing with high ceilings or using specialty finishes such as lacquer or Roman plaster, consult a professional.
You can determine whether DIY or hiring a professional is the best option for your walls and project requirements.
Which Type of Paint Should I Use?
When selecting paint for your interior walls, the finish is equally vital as the hue.
Flat:
- Look: Matte, chalky look.
- Best for: concealing flaws on damaged walls.
- Durability: Less durable, making it suited for low-traffic spaces such as bedrooms or formal living rooms.
Eggshell/Satin:
- Appearance: Sheenier than flat, slightly reflecting.
- Because of its balance of look and durability, it is ideal for use in most rooms in the house.
- Durability: More durable than flat flooring, ideal for medium-traffic areas such as dining rooms and corridors.
Semigloss:
- Look: Much more shiny and has good light reflection.
- Ideal For: Bathrooms, kitchens, or any area where simple cleaning is important. Additionally, it helps lighten dim or confined spaces, such as powder rooms.
- Durability: Extremely long-lasting and easily cleaned.
Elevated Gloss:
- Look: Bold and incredibly shiny, making trim or walls the main attraction.
- Ideal For: Bold design statements, trim, and cabinets. Use only on immaculate, smooth walls.
- Durability: Easily cleaned by simply wiping it down, and incredibly resilient.