- Beauty&Health

- Valentine's Day/DIY/Beauty tutorials
How to Give Yourself a Professional-Quality Facial at Home
Nothing revitalizes your skin like a proper facial, regardless of whether your complexion appears a little drab or your skin feels dry. This is a whole at-home spa treatment, not just a short sheet mask. A luxury facial is the ideal way to relax and revitalize, and everyone deserves a little self-care. Here's how to get a facial like the ones you'd get in a salon without ever leaving your house.
A Facial: What Is It?
Cleaning, exfoliating, and moisturizing the face are common steps in a facial treatment. It leaves the skin nourished, brighter, and younger-looking by clearing the pores of debris and dead skin cells.
Facials are a wonderful way to unwind and usually last an hour or so. To prevent skin irritation, we advise getting a facial no more than once a week. But after you've done one, we can see why you'll want to do it repeatedly!
What You'll Need
Equipment / Tools:
- Cleansing device (optional)
- Dermaplaning face exfoliating tool (optional)
- Mini steamer (optional)
- Gua sha stones, jade roller, or other facial roller (optional)
- Muslin cloth
Materials:
- Makeup-removing balm
- Foam or gel cleanser
- Chemical peel or exfoliating mask
- Serum or facial oil
- Hydrating toner
- Replenishing moisturizer
- Eye cream
Instructions
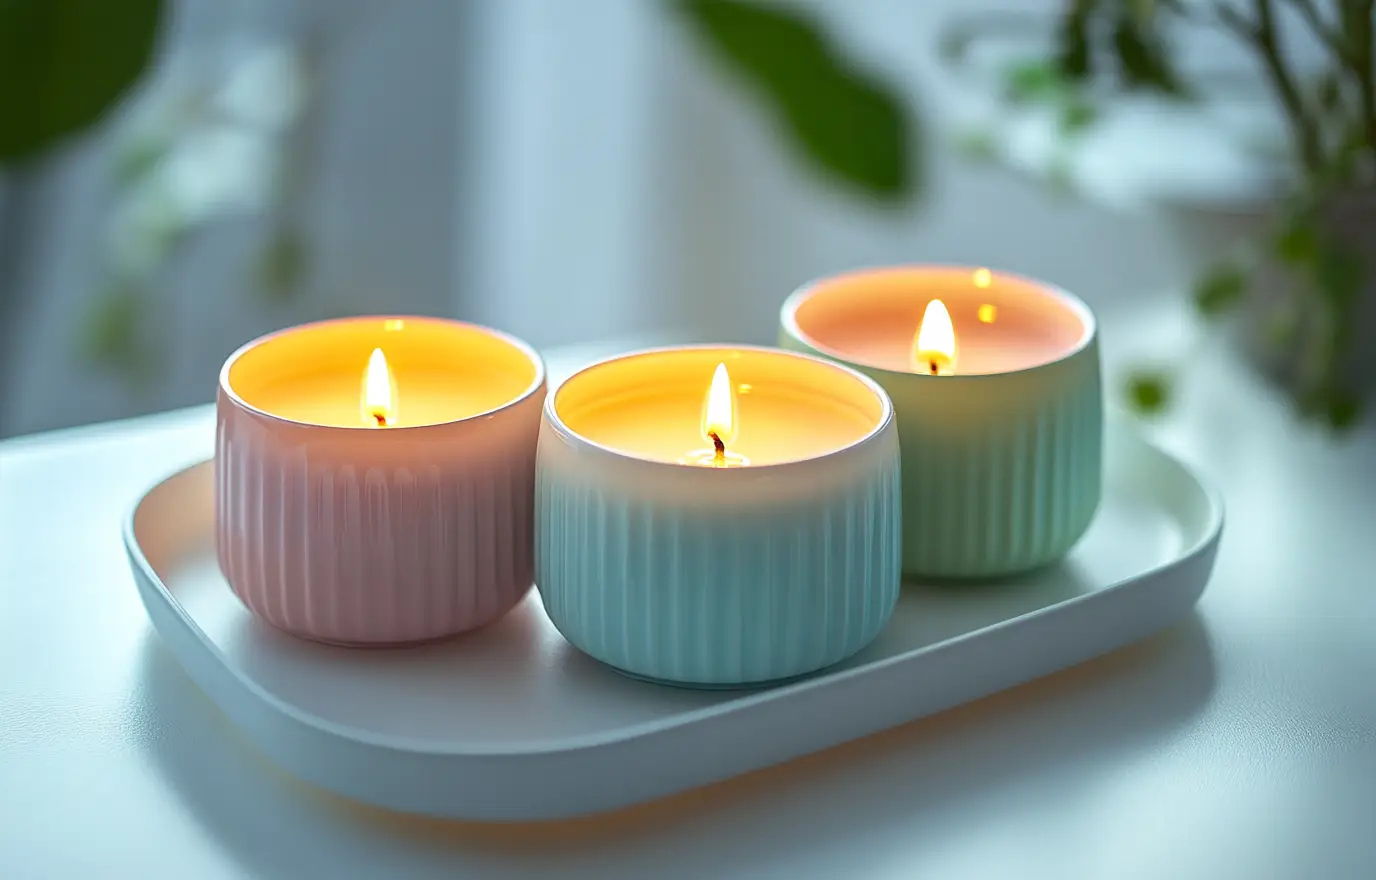
Step 1: Establish a Spa-Like Setting
Establish the tone for complete relaxation throughout your facial:
- Lighting: For a warm, relaxing atmosphere, use mild lamplight and lit candles.
- Comfort: Put on your favorite cozy pajamas and use a scrunchie or headband to keep your hair out of your face.
- Play soothing music; slow-song playlists or classical music are excellent choices.
- Between stages, have a glass of wine or a hot cup of tea (which reduces inflammation).
- Mindset: Take advantage of this opportunity to relax and rejuvenate your mind as well as your skin.

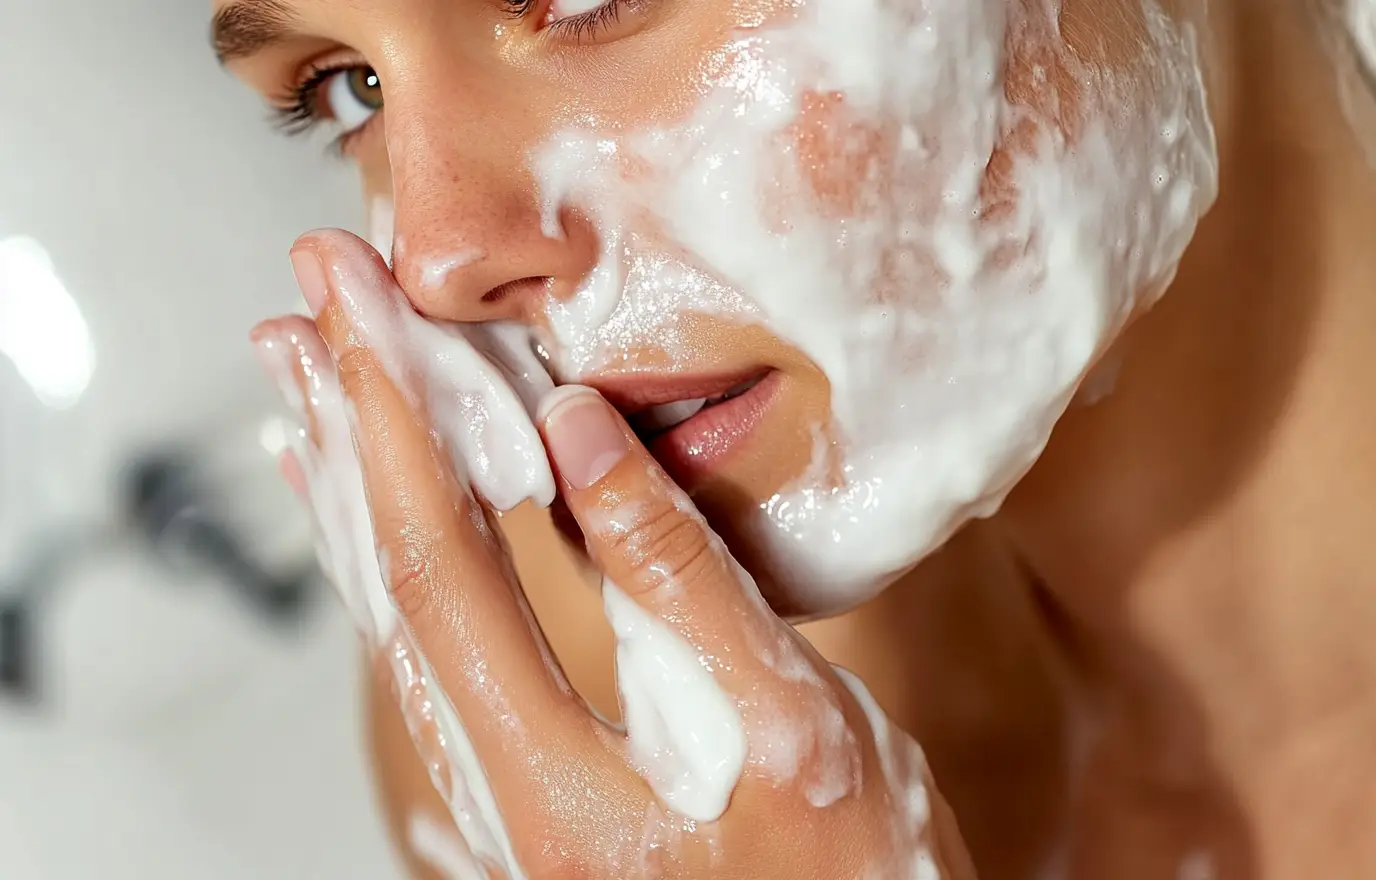
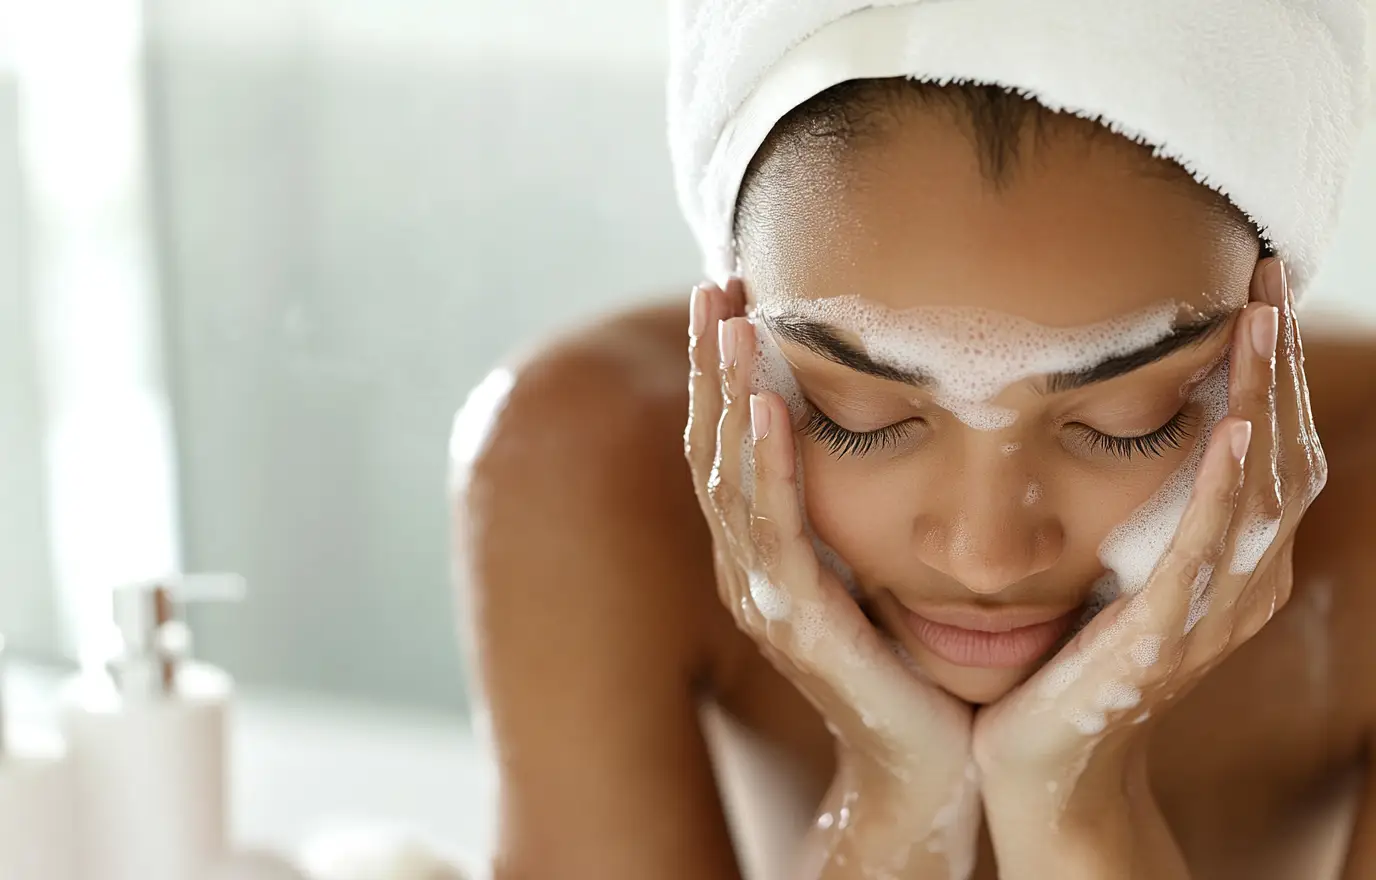
Step 2: Wash your face twice.
For a nice face, a clean base is essential:
- First Cleanse: Remove pollutants, grime, and makeup with a balm designed to remove makeup. A mild, non-stripping balm is what you want.
- Second Cleanse: To make sure your skin is completely clean, use a foam or gel cleanser afterward.
- Bonus: To ensure that everything is completely cleaned, you may utilize a cleansing tool.
Step 3: Give Your Skin an Exfoliation
Dead skin cells are removed via exfoliation, which also gets your skin ready to absorb the following products:
- Selecting an Exfoliant: For a more thorough cleansing, use an exfoliating mask or chemical peel. Seek for goods that have the ability to physically exfoliate.
- Try a glycolic peel for intense exfoliation to aid with texture, discolouration, and pores.
- Dermaplaning at Home: To get rid of dead skin and peach fuzz, use a dermaplaning instrument. (A sustainable dermaplaning instrument for safe at-home usage is a fantastic choice.)

Step 4: Steaming Your Pores in Step Four
Although optional, this step is calming and helpful:
- Steam: To improve product absorption and open pores, use a small steamer, such as the Dr. Dennis Gross Pro Facial Steamer.
- Not a Steamer? Steaming from a hot shower is equally effective.
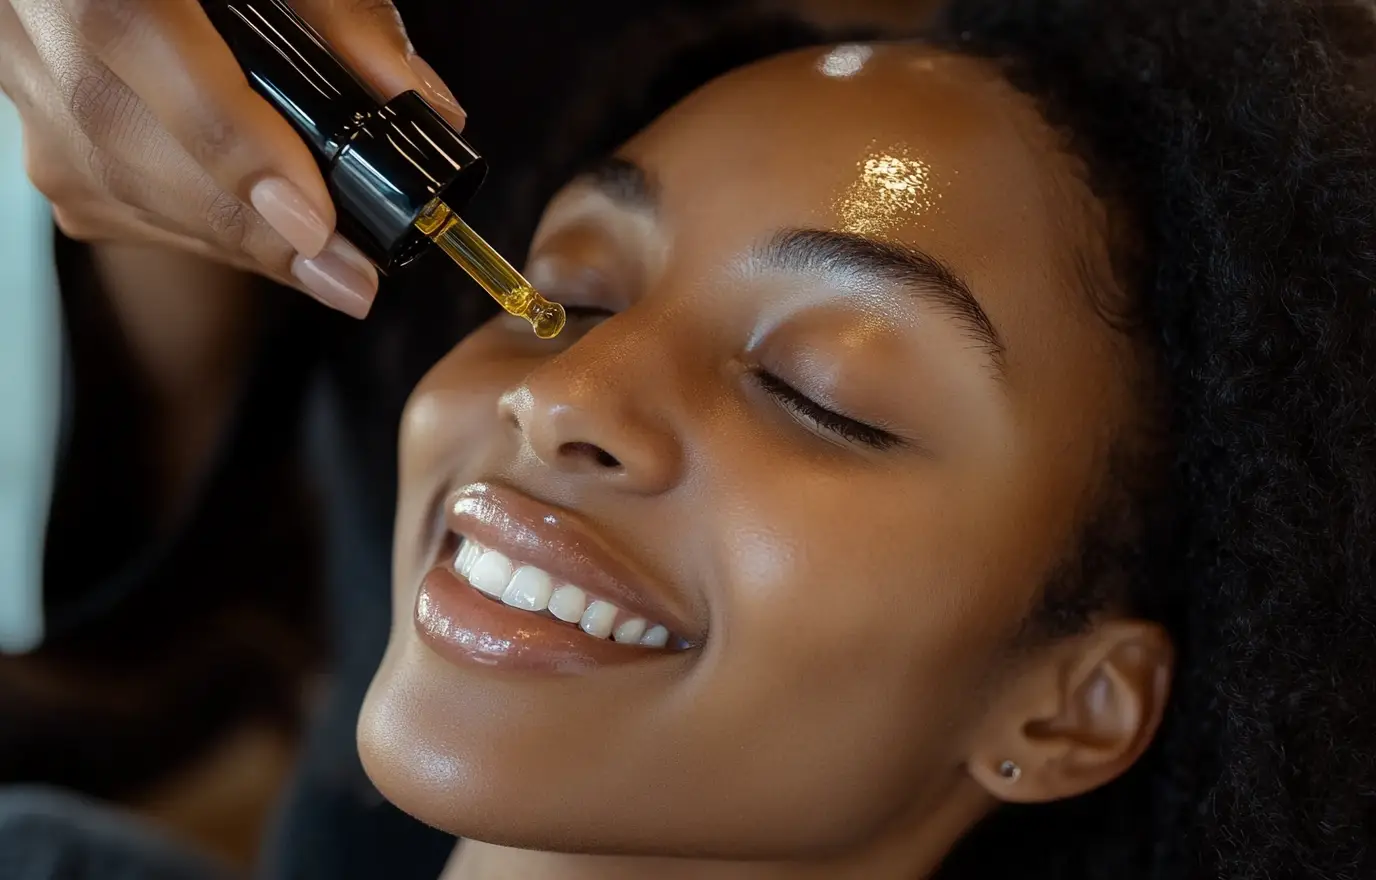
Step 5: Massage and Apply Serum
This step keeps skin rejuvenated and aids in circulation:
- Serum: To prevent your skin from being tugged during the massage, start by using a serum or face oil.
- Massage Tools: Massage your face with your hands, a jade roller, or a gua sha stone.
- Benefit: This will increase skin energy and help de-puff your face.
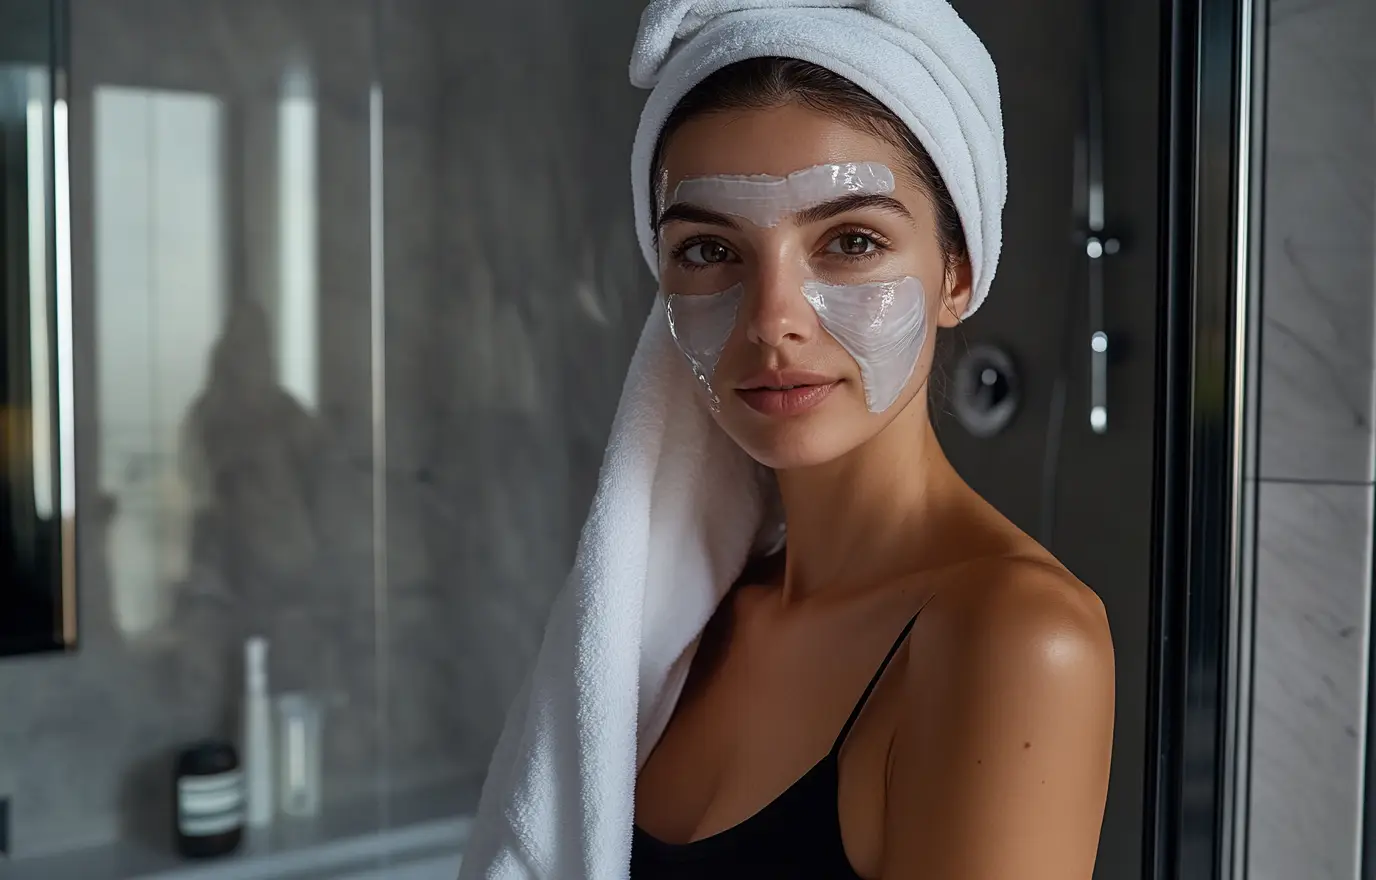
Step 6: Apply a Mask and Tone Your Skin
Hydrate and balance your skin:
- Tone: To balance and soothe your skin, mist it with a mild moisturizing toner.
- Mask: Use your preferred restorative mask that is suited to the requirements of your skin.
- Removal: Using a warm, moist muslin towel, carefully take off the mask. Gently wipe the skin without pulling it.
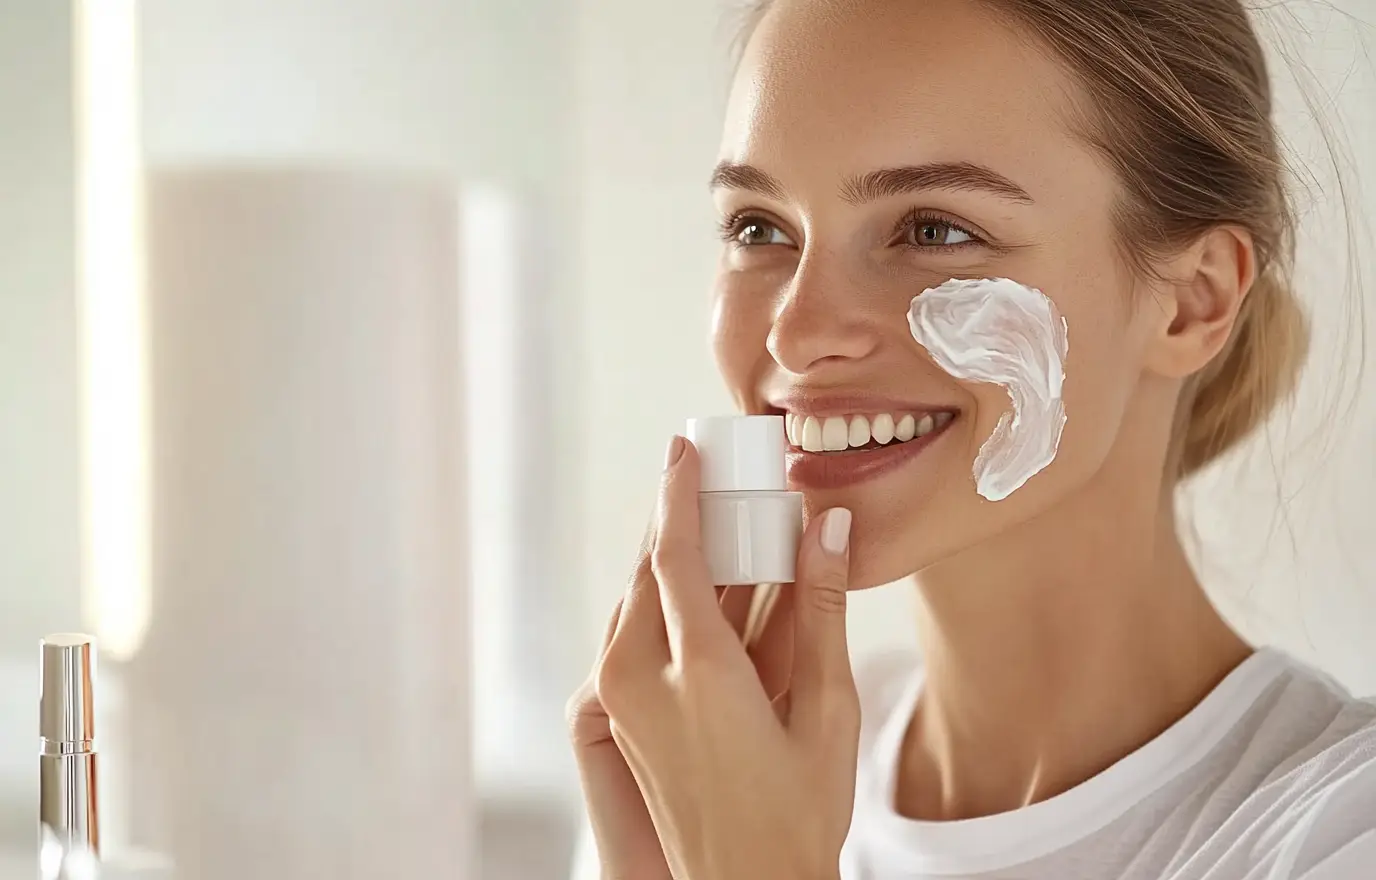
Step 7: Hydrate Your Face to Seal in Hydration and Nutrients
- After exfoliation, use a calming moisturizer free of retinols and acids, which can cause dryness. Seek out goods that contain nutritious oils and antioxidants.
- Eye Cream: To address puffiness or dark circles, don't forget to apply a nutritious eye cream at the end.
Is it possible to substitute homemade ingredients for your at-home facial?
Of course! Whether you want to make a calming matcha and honey mask as the last step or combine ground-up oats with plain Greek yogurt for an all-natural face scrub, there are many natural skin cures available if you don't want to spend a fortune on a whole new line of cosmetics.
Is it appropriate to use extractions when performing a facial at home?
Dermatologists advise taking the following precautions to reduce the likelihood of scarring if you wish to try extractions during an at-home facial, even though most estheticians advise leaving them to the professionals.
Make a puncture mark on the blackhead. (For the task, use a sterile needle.)
Push the tips of two cotton swabs toward one another after applying them to either side of the blackhead.
To assist get rid of the blackhead without picking or pinching your skin, you can also try a chemical peel at home.