- Home&Garden

- Home Improvement/Kitchen Tools
Mastering Table Settings: From Casual to Formal
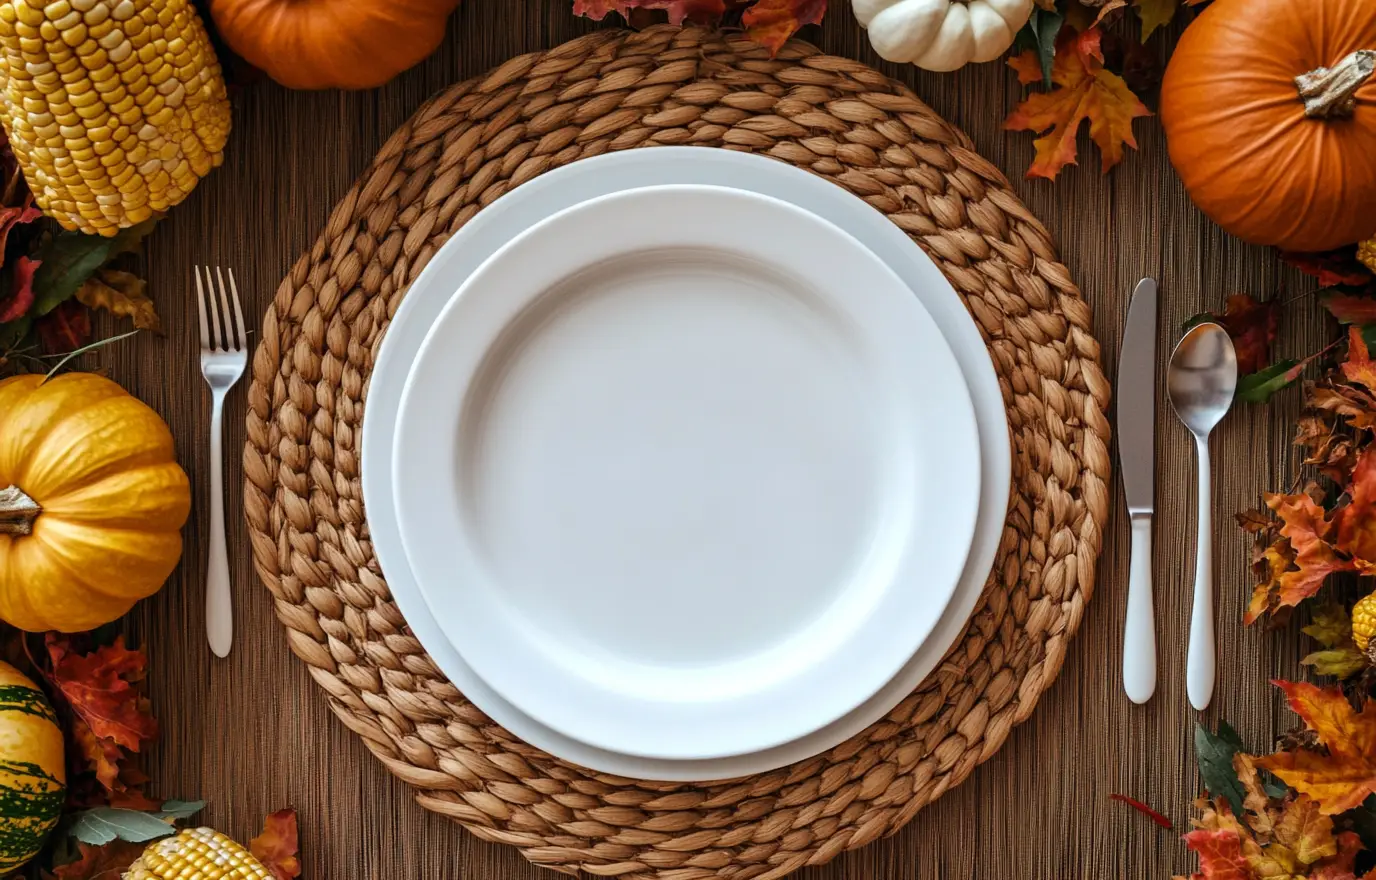
Mastering the art of setting a table might seem tricky, but it’s easier than you think—and it’s a skill that can impress at any gathering. Whether you're hosting a cozy dinner with friends, a casual family meal, or a formal holiday feast, we’ve got you covered.
Here’s a simple guide to help you set the perfect table for any occasion, complete with easy-to-follow diagrams. You’ll learn exactly where to place each plate, fork, and napkin—so next time you host, you can set the table like a pro. Save this guide for your next event, or pass it along to your kids and let them help!
Why Table Setting Matters
You might think, "Does it really matter where the plates and silverware go? The food will taste the same, right?" Well, yes, but here’s why it’s worth the effort:
A well-set table shows your guests that you care. It’s a simple way to make them feel valued and appreciated. Plus, a thoughtfully arranged table helps set the right mood for the meal, making everyone feel more special. Oh, and it’s not just about aesthetics—setting the table correctly can actually make the food look even better!
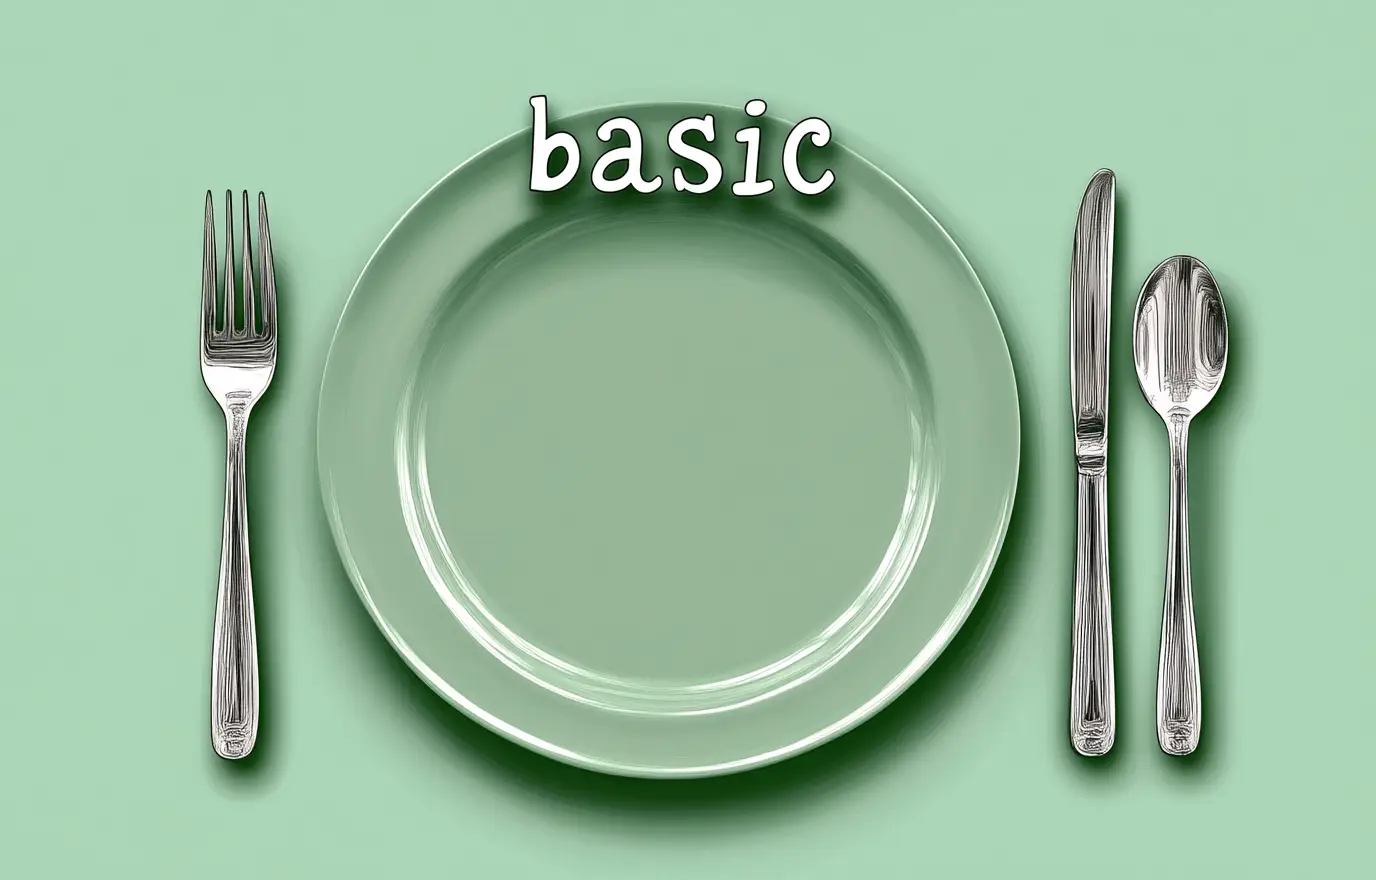
Basic Table Setting
For a casual dinner or weekend breakfast, a simple, well-set table goes a long way.
Instructions:
- Place the Placemat: Start by laying a placemat in front of each guest.
- Position the Dinner Plate: Set the dinner plate in the center of the placemat.
- Add the Napkin: Place the napkin to the left of the plate.
- Fork and Napkin: Put the fork on top of the napkin.
- Knife and Spoon: To the right of the plate, place the knife with the blade facing inward, and the spoon next to the knife.
- Water Glass: Position the water glass slightly above the plate, as if it were at 1 o'clock on a clock face.
You can also place the napkin on top of the plate instead of to the side. While this feels a bit more formal, it’s entirely your choice depending on your style!
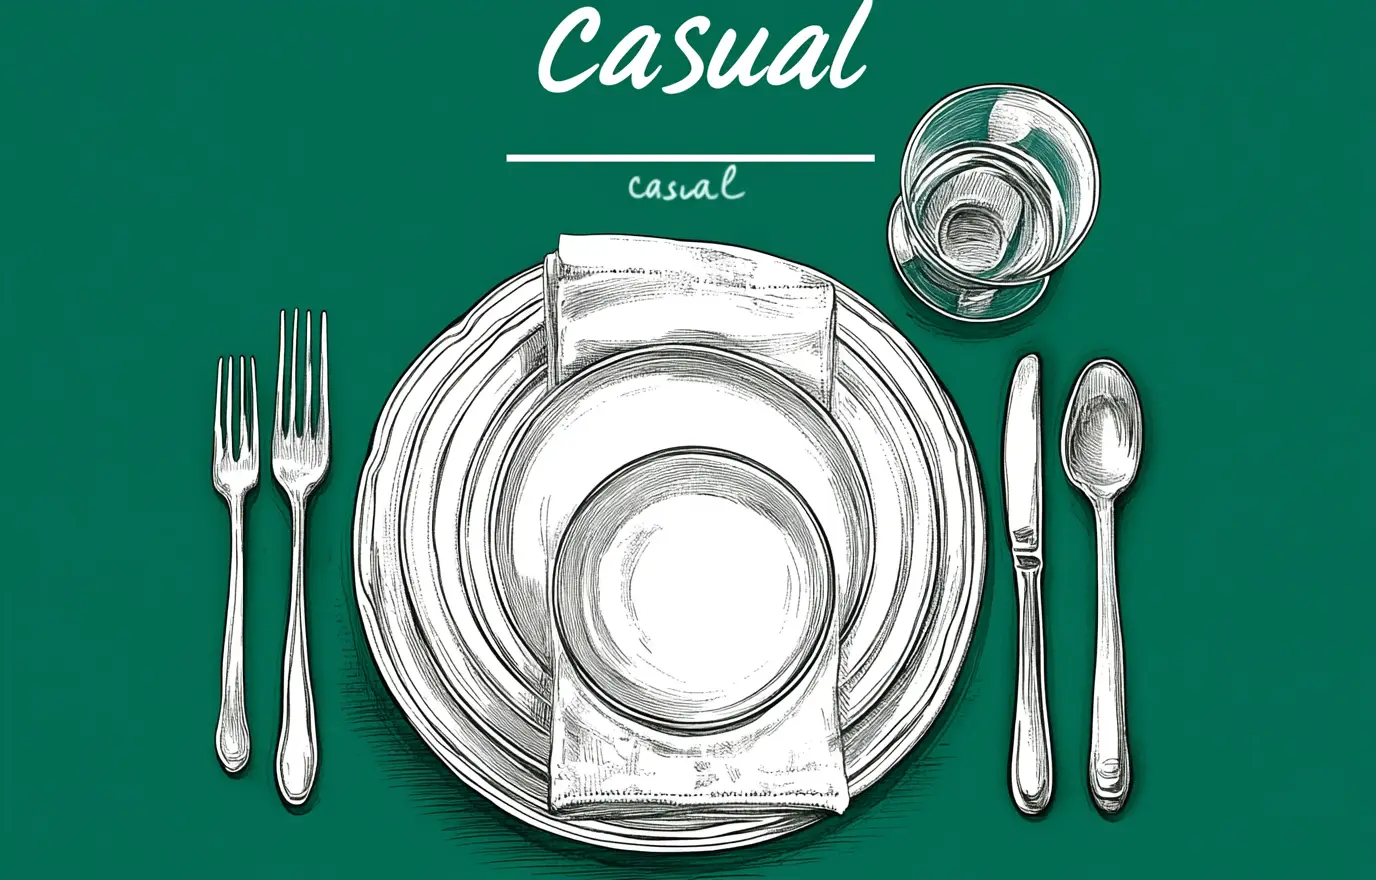
Casual Table Setting
Setting a casual table is key for relaxed get-togethers or informal dinner parties. The setup is similar to the basic table setting, but with a few additional touches, like a soup bowl or salad plate, depending on your menu. Here's a simple guide to help you set the perfect casual table:
Instructions:
- Lay the Placemat: Start with a placemat for each guest.
- Set the Dinner Plate: Place the dinner plate in the center of the placemat.
- Add the Salad Plate: Set the salad plate on top of the dinner plate (if you're serving a salad).
- Add the Soup Bowl: If you're serving soup, place the soup bowl on top of the salad plate.
- Napkin Placement: Put the napkin to the left of the plate, either on the placemat or folded on the plate.
- Fork Placement: Place the fork to the left of the plate, on the napkin.
- Knife and Spoon: To the right of the plate, place the knife (blade facing inward), followed by the spoon if needed.
- Water Glass: Place the water glass above the knife, at about the 1 o’clock position.
- Wine or Beverage Glass: Place the wine glass or other beverage glass slightly above and to the right of the water glass.
Salt and Pepper: Place individual shakers at the top of each placemat or in the center of the table. On long tables, place them at each end.
Don’t Overcrowd: Only set out what you need based on your menu (e.g., no soup spoon if there’s no soup, or no red wine glass if you're serving only white wine).
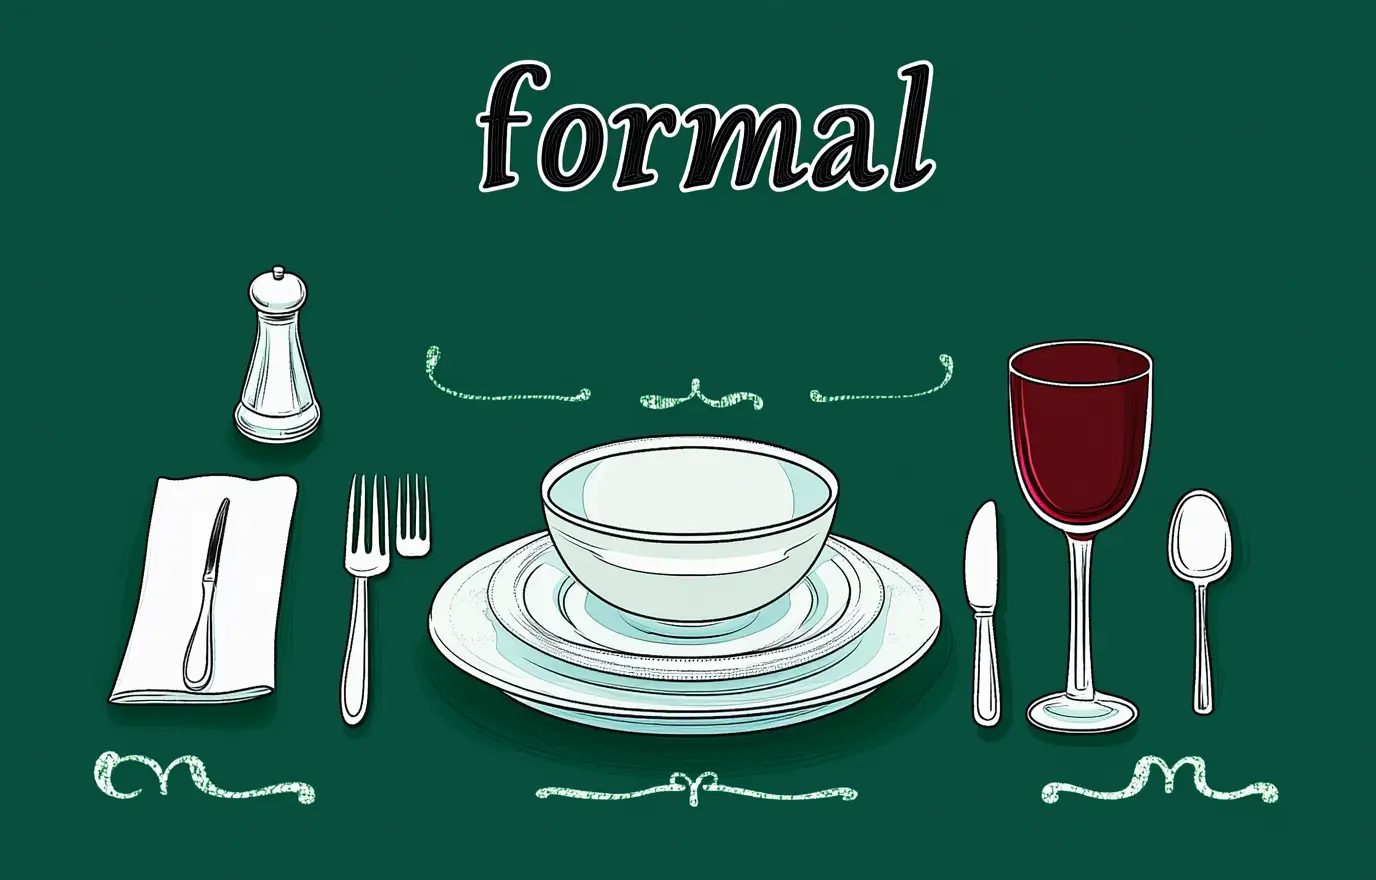
Formal Dinner Table Setting
When hosting an elegant dinner party, setting a formal table can elevate the experience and make guests feel special. While it may seem overwhelming at first, if you can manage a casual table setting, transitioning to a formal one is simple. Here’s how to set a formal table for a three-course meal:
Instructions:
- Tablecloth: Start by laying an ironed tablecloth on the table for a smooth and elegant base.
- Charger: Place a charger (also known as a presentation plate) at each seat. This sets the tone for the meal and provides a foundation for the other plates.
- Soup Bowl: In the center of each charger, place a soup bowl if you're serving soup.
- Bread Plate: Place the bread plate to the top left of the charger (between 10 and 11 o’clock on a clock face).
- Napkin: Lay the napkin to the left of the charger. You can fold it or place it on the plate, depending on your style.
- Forks: To the left of the charger, place the salad fork on the outside and the dinner fork on the inside (closest to the plate). If the space allows, you can place them directly on the tablecloth between the napkin and the charger.
- Knives & Spoons: To the right of the charger, place the knife (blade facing in towards the charger) and the soup spoon. Make sure all vertical flatware (forks, knives, spoons) are spaced evenly, about half an inch apart.
- Butter Knife: Place the butter knife horizontally across the top of the bread plate with the blade facing inwards and the handle pointing to the right.
- Dessert Spoon: Place a dessert spoon (teaspoon) directly above the charger, with the handle pointing to the right.
- Glasses: Place the water glass directly above the charger. To the right of the water glass and slightly downward, place the white wine glass. To the right of the white wine glass, position the red wine glass slightly above it.
- Salt & Pepper: If you're using individual salt and pepper shakers, place them above the dessert spoon. Alternatively, place them in the center of the table or on each end for longer tables.
- Place Card: If using a place card, set it above the dessert spoon for a polished, personal touch.
After the soup course, you can clear the soup bowls and place a salad plate in their place.
The charger plate remains at the table throughout the meal, and after the salad course, it’s either removed or replaced by the dinner plate.
If you prefer not to clear the table after the soup course, you can place the dinner plate on top of the charger.
How do you set a table for breakfast?
For a breakfast setting, start with the basic table setting (plate, fork, knife, spoon, etc.).
- Add a cereal bowl on top of the plate.
- Include a bread plate (for a muffin, biscuit, or toast) with a butter knife placed on the left side above the fork.
- Finish by adding a cup and saucer (for coffee or tea) and a tumbler (for water or juice) on the right side above the knife.
How do you set a table for lunch?
For lunch, begin with the basic setting and add:
- A bread plate and a butter knife on the left side above the fork.
- A tumbler and/or a wine glass on the right side above the knife.
- If serving soup, place a soup bowl on top of the plate.
Who invented table setting?
While there isn't a single "inventor" of table settings, they were first documented by the ancient Greeks and also mentioned in the Old Testament of the Bible.
How do I incorporate a centerpiece in my table setting?
Candles, flower vases, or small decorative items are excellent choices for an elegant centerpiece.
- Just make sure they are short enough so they don't block your guests' view of one another during the meal.
When guests leave the table, where should they put their napkin?
When guests leave the table, it's customary to leave their napkin to the left of their plate.
- The napkin can be loosely folded, just as it was when first placed.