How to Declutter Your Home with the "No Contact" Method

PHOTO: Yueke
Clean breaks are never easy, especially right after deciding to set off in a new direction. While going “no contact” is often the wisest choice in the long run, the immediate aftermath can be tough. Interestingly, applying the same principle to decluttering your home can have the opposite effect, potentially making it easier to let go of things.
The “no contact” decluttering method can be a great option for getting yourself unstuck. It's ideal to decide on the spot whether to keep or donate items, but this often stops many people from decluttering due to decision fatigue. This method allows you to see how your home would feel and function with less stuff without the fear of regret.
It’s common during the organizing process to backtrack and second guess. Don’t let imagined scenarios stop you from trying to be more streamlined. Sometimes, stress over the present is worse than regret over the past. If you’re ready to move on from disorganized surroundings, even slowly but surely, the “no contact” decluttering method might be for you.
What is the “No Contact” Decluttering Method?
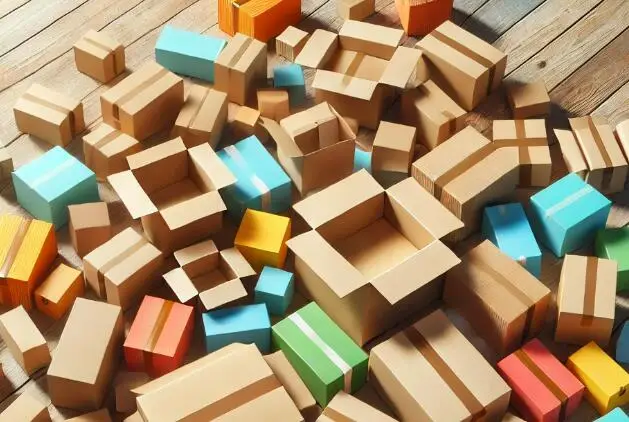
Among all the decluttering methods out there, the “no contact” approach is very understanding. It involves putting items you may no longer need into a box until a specific date. When that deadline arrives, you can decide whether you still need those items. This set amount of time helps make the decision clearer, as you’ll see if you truly miss any of those boxed items.
Boxing up things you think you can live without and putting them in a closet or garage for a set amount of time takes the pressure off. It lets you see what's possible for your life while living with less.
Who is the Method Best For?
The “no contact” method is great for those new to decluttering or who are more sentimental. It’s also useful for those undergoing significant life changes, such as downsizing. Start with non-essentials like holiday decorations or seasonal clothing to get a sense of what can be deemed unnecessary. The key is setting a future date to reevaluate if you can get rid of the clutter you boxed up.
Set a deadline in the near future, and mark it where you'll remember. Giving yourself adequate time to experience life without the clutter will make you more likely to let go of the boxed-up items. But if you love your new space after a couple of months, feel free to get rid of the clutter sooner.
What Supplies Do I Need?
You’ll need boxes that can stay out of sight for a while, so you may have to purchase new ones depending on what's going inside. The “no contact” method can help you get rid of so much more because it eliminates the worry about letting something go that you were unsure about.
Get eight medium-sized packing boxes and four trash bags ready for one run-through, so you don’t have to stop if you’re on a roll and can immediately toss anything that’s broken or unnecessary. Take pictures of the area you’re working on before decluttering begins so that you’ll have a reminder of the past when it’s time to reopen the boxes. Label the boxes with their general contents and date them to remind you of what's inside without having to reopen everything later. Store the boxes in a spot that you won’t come across every day to limit temptation.
How to Do “No Contact” Decluttering
With ample supplies and a generous timeframe, start filling boxes with items throughout your entire home, not just a specific room.
It’s best to do this over the course of a week. You don’t have to spend all day decluttering; aim for two uninterrupted hours per day over a week, or two uninterrupted weekends, to hit all the nooks and crannies. Go room by room and build momentum where things are easier to either toss or go “no contact.” Start in a guest room storing old linens or a living room filled with untouched board games. As you clear out stowaways, you'll gain the confidence to tackle more challenging spots.
Stick to a room until you’ve sufficiently decluttered it. Aim for clutter-free spaces, not just slightly less cluttered ones. Fill the boxes with things that may still be useful and aren’t duplicates. If items are sentimental, decide if you want to keep them within reach or part with them later. With “no contact,” you can see what it’s like to go without.
When it’s time to open the boxes, be honest about how you felt in the interim. Often, you can donate the contents without getting emotional. The results of this method should last, helping you to buy less, keep less, and be more thoughtful about your consumption.

