8 Olympic Nail Art Ideas That Sports Fans Can’t Miss
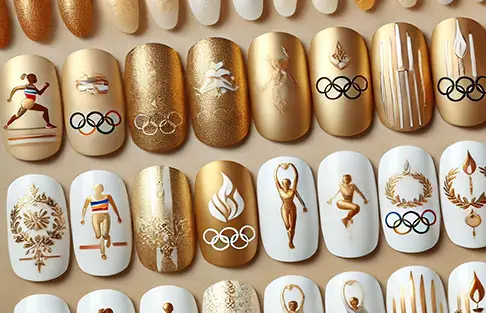
PHOTO: Yueke
For sports enthusiasts, showing support for the Olympics can go beyond just watching the games. Why not flaunt your Olympic spirit with some stunning nail art? Here are eight Olympic-themed nail designs that are perfect for any fan looking to add a touch of athletic elegance to their style.
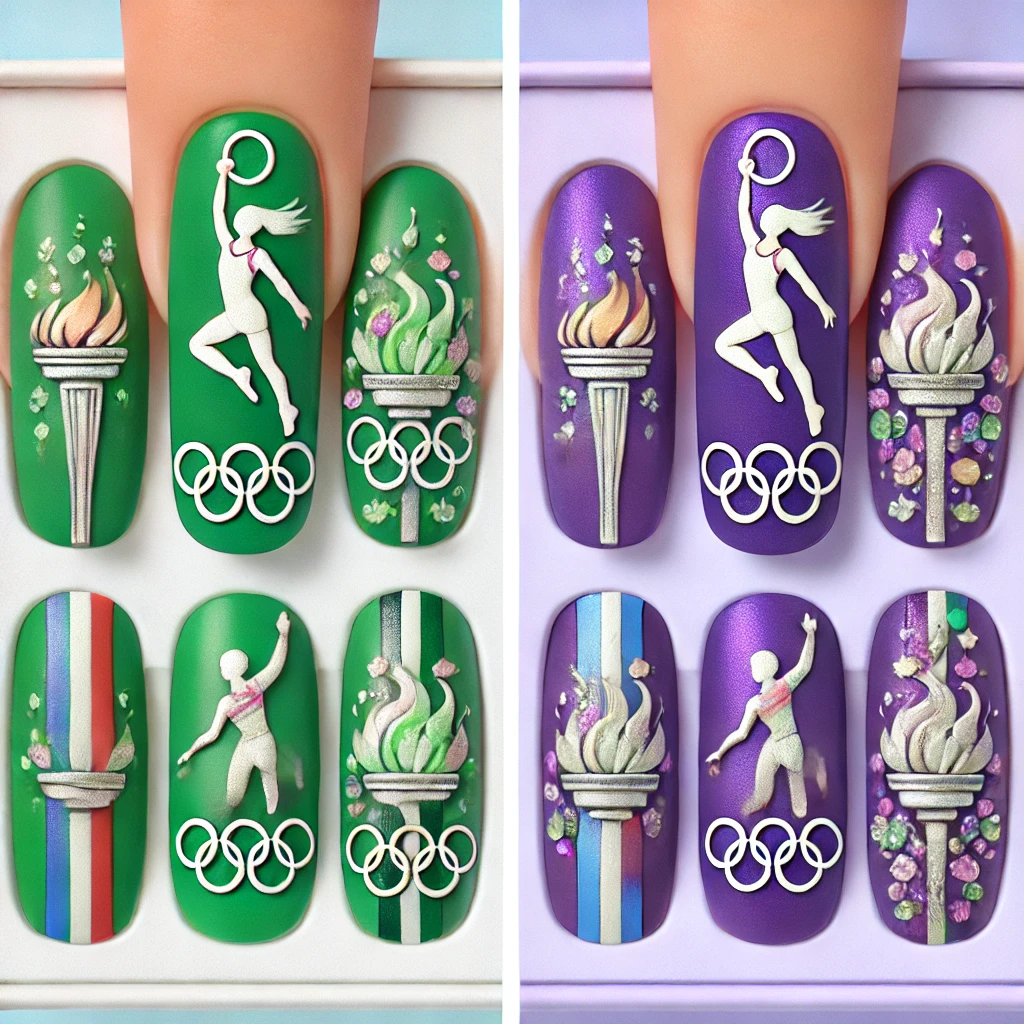
PHOTO: Yueke
1. Sport-Specific Designs One set features a green base with the Olympic rings and a gymnast, while the other set has a purple base with silver details, showcasing a runner and the Olympic flame. Each design is elegant and celebrates the spirit of the Olympics. Enjoy these stylish nail art ideas!
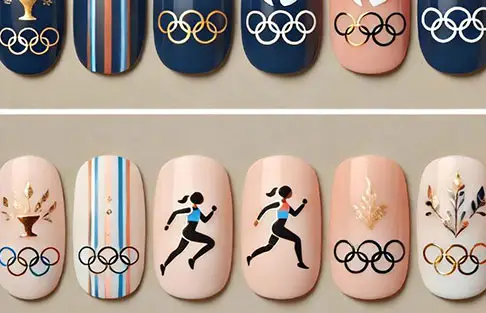
PHOTO: Yueke
2. Sport-Elegant Designs One set features a navy blue base with simple white Olympic rings and a small flame, while the other set has a light pink base with delicate black and gold details, including the Olympic rings and a runner. Each design is clean, elegant, and reflective of the Olympic spirit
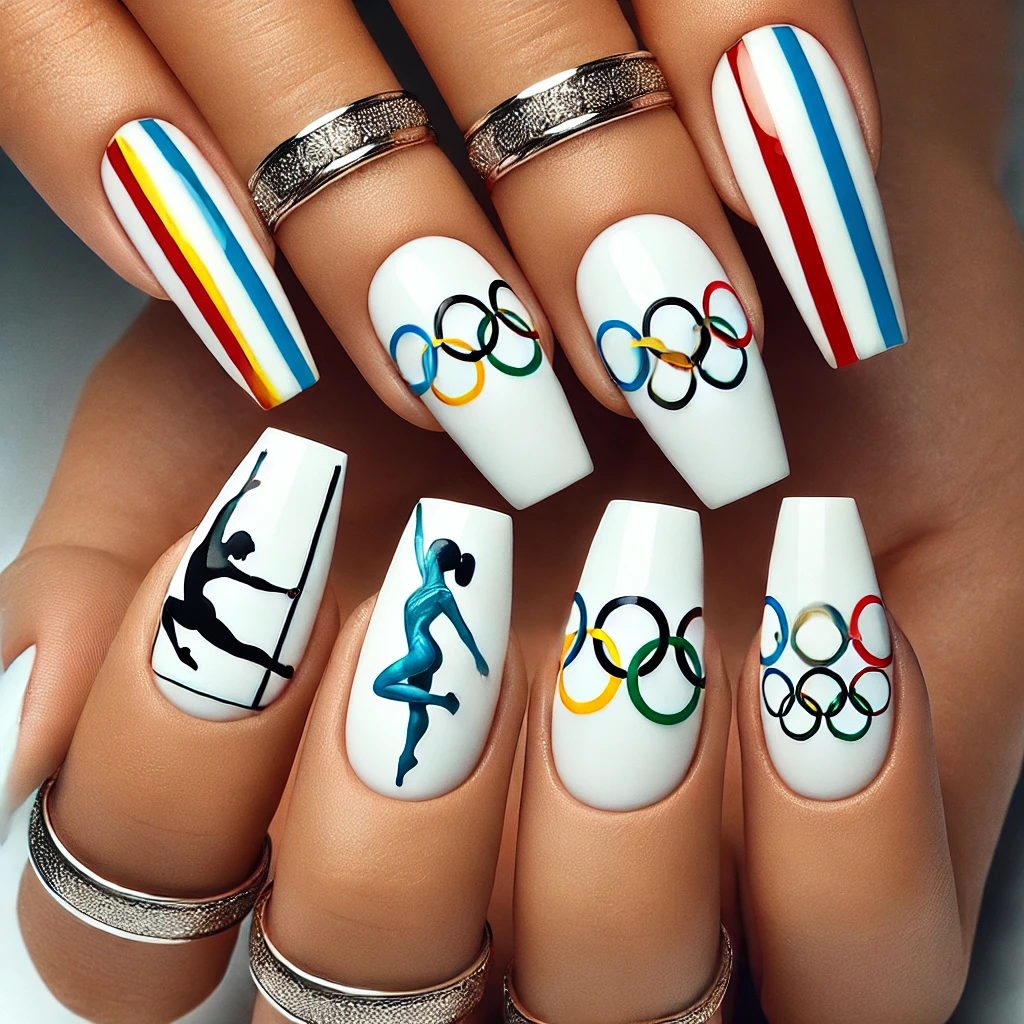
PHOTO: Yueke
3.Classic Olympic Rings
The nails have a clean white base, with one featuring the iconic Olympic rings in their traditional colors, and another showcasing a figure of a female gymnast in action. The overall look is chic and celebratory, reflecting the spirit of the Olympics.
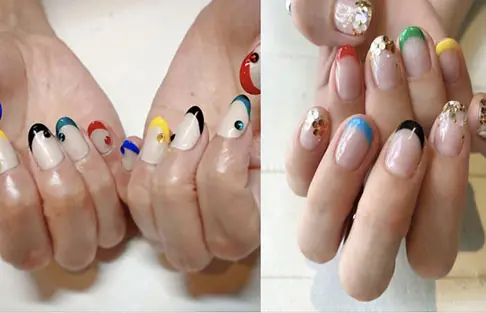
PHOTO: Yueke
4. Minimalist Olympic Icons
French manicure in the simplest Olympic ring colors
photo by IG@cznail1996、@yoko_saito21
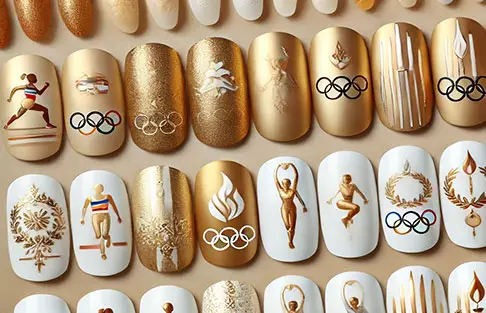
PHOTO: Yueke
5. Gold Medal Nails
Celebrate the glory of winning with gold medal-inspired nails. Use a metallic gold base and accentuate with the Olympic rings or a minimalist torch design. This look exudes luxury and victory, perfect for those who dream of standing on the podium.
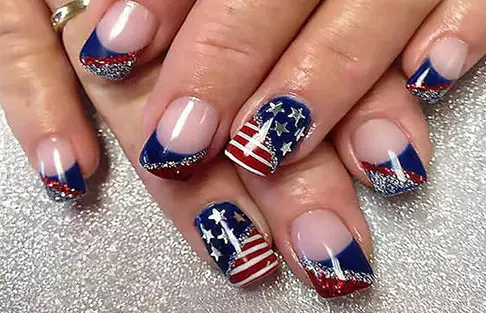
PHOTO: Yueke
6. National Pride
Incorporate your country’s colors and symbols along with the Olympic rings. This patriotic design can show support for your national team while still keeping the Olympic theme. Use a base color that matches your flag and add subtle Olympic details for a cohesive look.
Photo by Amazon
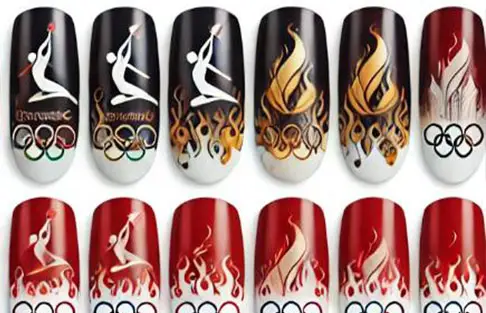
PHOTO: Yueke
7. Olympic Flame
Capture the spirit of the games with a design featuring the Olympic flame. A simple design with a small flame on a pastel blue or green base can be both elegant and meaningful, symbolizing the enduring legacy of the Olympics.
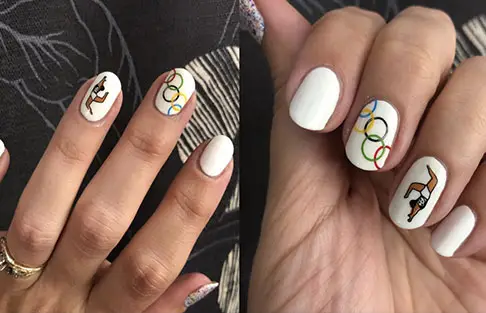
PHOTO: Yueke
8. Athletic Silhouettes
Showcase your favorite Olympic sports by featuring athletic silhouettes on your nails. Whether it’s a gymnast, a runner, or a swimmer, these designs can be done on a sleek black or navy base with white or gold details to highlight the figures.
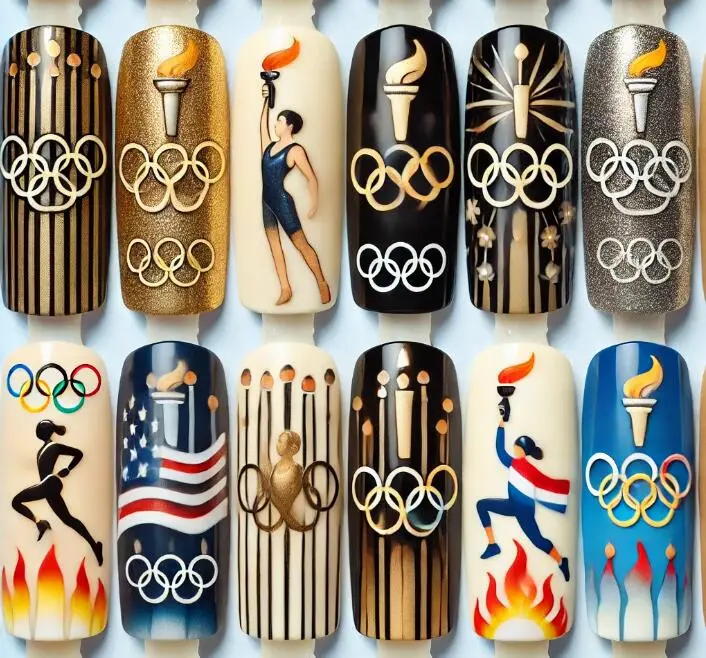
PHOTO: Yueke
9. Medal Stand Nails
Each set includes various elements related to the Olympics such as the iconic rings, torch, and athletes in action. These designs are elegant and celebratory, perfect for showcasing the spirit of the Olympics. Enjoy exploring these unique and stylish nail art ideas!
They say that death and taxes are the only certainties in life, but I’d argue that scars deserve a spot on that list too. Whether it’s a mark from an old acne breakout, a curling iron mishap, or a childhood injury that never quite healed, scars are a universal experience. If your scars don’t bother you, that’s wonderful. However, for those with visible scars—especially on the face—makeup can be a game-changer. Covering scars with makeup requires a different approach than concealing dark circles or pimples. , “Covering up scars can be quite tricky since makeup is mostly a two-dimensional medium while scars are often three-dimensional.” Too much makeup can emphasize texture rather than hide it, so it’s all about thin layers and blending. The technique also varies based on the type of scar. Here’s a detailed, professional guide on how to use makeup to cover scars, plus the best products for the job.
General Step-by-Step Guide to Covering Scars with Makeup
1. Moisturize Your Skin
Hydrated skin is key to achieving a flawless makeup application. Start by applying a good moisturizer to ensure your skin is well-prepped.
2. Apply a Primer
Primers help smooth out the skin’s surface and increase the staying power of your makeup. Choose a primer that matches your skin type for the best results.
3. Use Foundation Before Concealer
Adivi recommends applying a thin layer of foundation over your entire face before using concealer. This evens out the skin tone and reduces the amount of concealer needed.
4. Set Your Makeup
Lock everything in place with a setting powder or spray to enhance longevity and coverage.
Techniques for Different Types of Scars
Raised Scars (Hypertrophic)
Raised scars are smooth and can have a shiny appearance. Celebrity makeup artist Andrew Sotomayor suggests using mattifying products to counteract the shine and provide better adhesion. A thin layer of foundation and concealer is usually sufficient for these scars.
- Depressed Scars
For pitted or atrophic scars, a filling primer can help create a smoother surface. Adivi recommends using a concealer slightly lighter than your skin tone to the deepest points, creating the illusion of raised skin. Use a small eyeliner brush for precise application.
- Dark Spots
Post-inflammatory hyperpigmentation requires a high-coverage concealer. Sotomayor advises using a long-wear concealer and setting it with translucent powder before and after application for extra coverage.
- Red Marks
To neutralize redness, Adivi and Sotomayor suggest using a green color corrector under your concealer and foundation. Alternatively, mix the corrector with your concealer for a seamless blend.
Conclusion
These professional tips and techniques can help you effectively camouflage scars with makeup, ensuring a smooth and flawless finish. Experiment with different products and methods to find what works best for your skin type and scar texture.